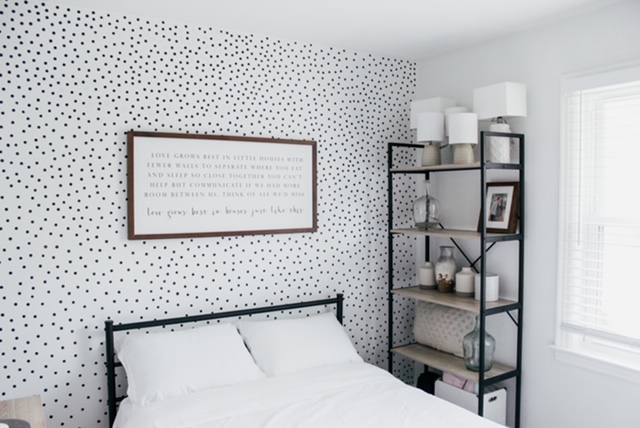
Our guest room/office is finally complete after I got the wildest idea to try and re-create this wallpaper I have been seeing all over Pinterest and Instagram lately. I fell in love with the print and knew I had to have it somewhere in my house, but could never commit to the price or hassle of wallpaper. After a little thinking I decided to DIY it!
I think it turned out so good, and it is so easy to do. Its almost foolproof if you ask me!
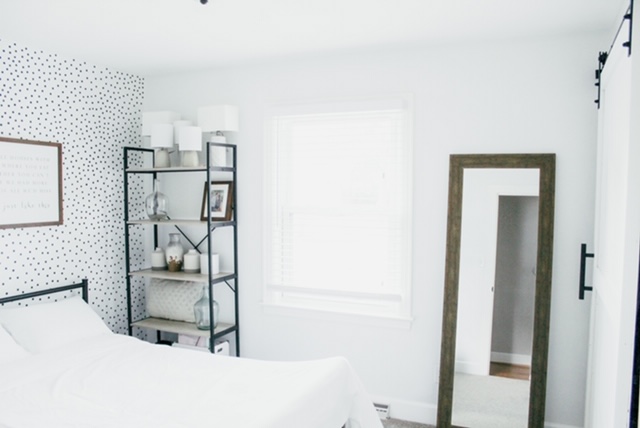
I now have the perfect space to work and be creative, as well as a place to store home decor that is out of season or not being used. It’s a total win win and this extra room just became so much more functional!
Supplies
Wall paint color
Dot paint color
Paper plate
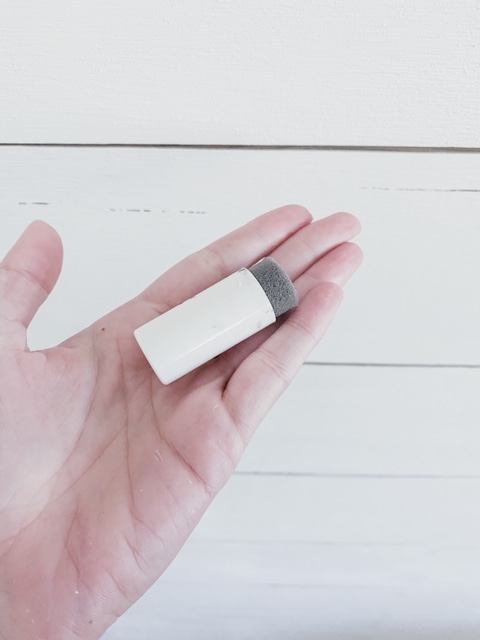
Sponge
Roller brush
Step I
Start by painting the entire wall the background color. I did ours in Sherwin Williams Pure White.
Allow paint to dry entirely.
Step II
Prepare a small amount of dot paint color on a paper plate and begin dabbing sponge in paint and then placing sponge on wall in desired pattern. I re-applied paint to the sponge after every 4-5 dots. Thats it!
Pro-tip: If you feel like you messed up or added to many dots in one area, you can grab a large sponge and dip it in the wall color and cover the dot. I had to do this a few times and it worked perfectly!
It took me two hours and a few bucks to complete the wall, as compared to hours and $$$ if I would of done actual wallpaper. So happy with how it turned out!

xoxo
Looks great!