Happy Wednesday!
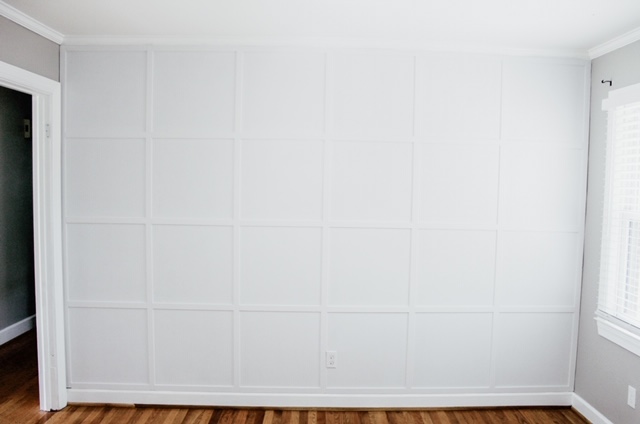
A few weekends ago Jeff and I, well mostly I and I dragged Jeff with me, decided to tackle a square board and batten accent wall. I have wanted to do this project for awhile now, but I would always second guess myself. I knew once it was complete I would love it, but getting a plan in place on how to execute the DIY project was always my set back. After working out the kinks and a bit of trial and error I think it turned out great!
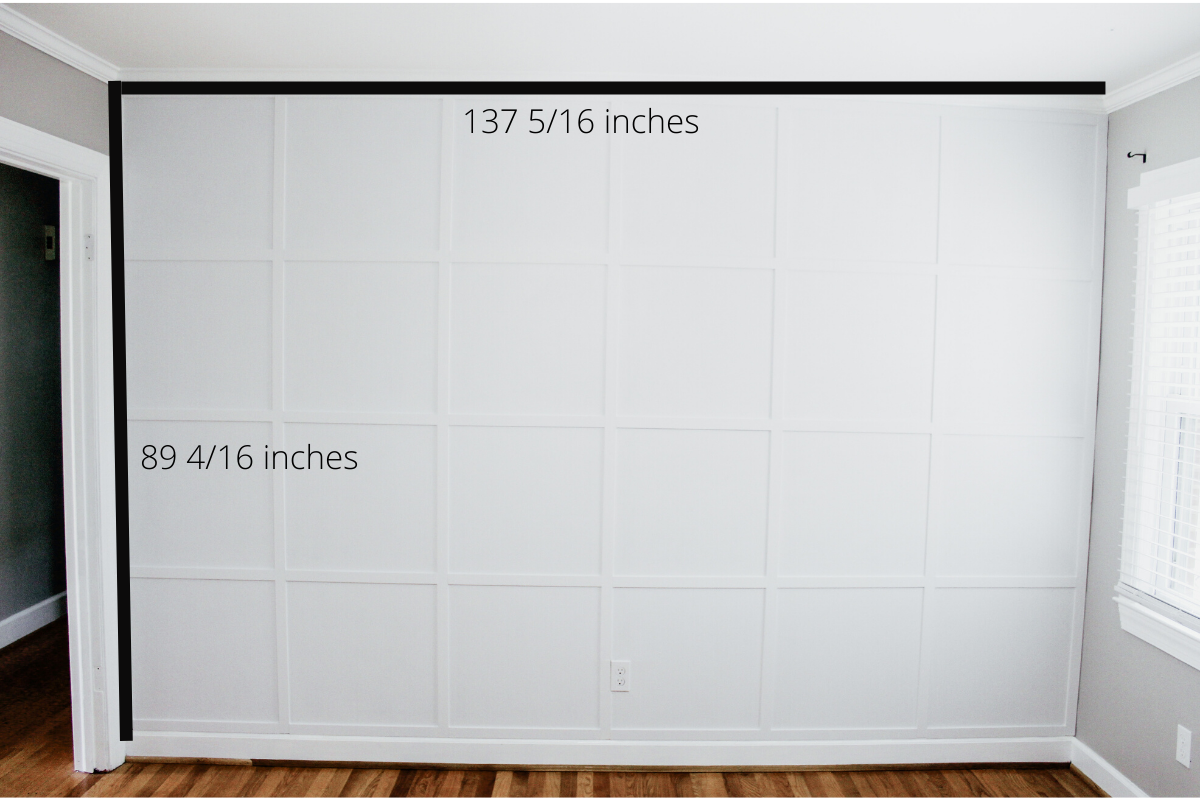
Getting the math right is by far the most important part of this project. I knew I wanted my squares to be as perfect as possible, so I started by drawing out the dimensions of our wall. Then I got super overwhelmed and called my sisters boyfriend who is super smart and he figured it out in ten minutes. Super easy! Lol
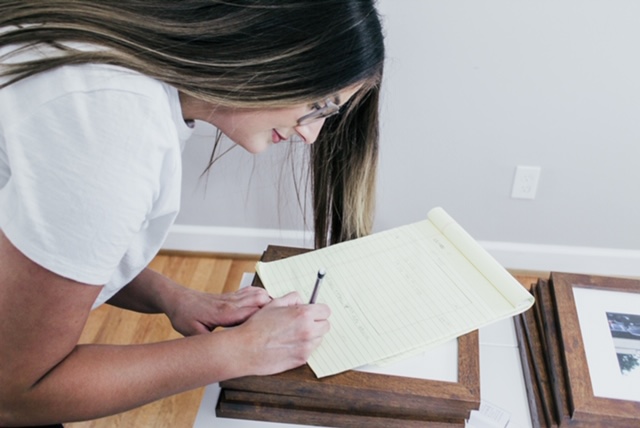
But seriously all he did was multiply the width of our batten (1.5 inches) by how many columns you want + 1. We wanted 6 columns, so that is 7 boards. So 1.5 x 7 = 10.5. Take the 10.5 and subtract it from the length of the wall. 137.3 – 10.5 = 126.8. 126.8 is the length of the wall minus the width of 7 battens. Now take 126.8 and divide that by the number of columns you want (in our case that was 6). 126.8 / 6 = 21.1. Now the distance horizontally between each batten is 21.1 inches.
Now apply the same math to find your vertical distance between each batten.
Now that our math was figured, we needed to decide on how we wanted to attach the boards to the wall. In previous projects, such as our shiplap, we would just nail into the studs. No big deal. Well the vertical boards for the square board and batten wall did not always lay over a stud, so that wasn’t going to work.
Then I had the idea to use liquid nails to attach the boards to the wall. The moulding we used as batten was thin and light weight, so I didn’t have any concerns with using glue as opposed to nailing them into the studs. So liquid glue it was!
Supplies List
Lattice moulding (or MDF board would also work)
Gorilla Glue Heavy Duty Construction Adhesive
Level
Caulk
Paint
Step I
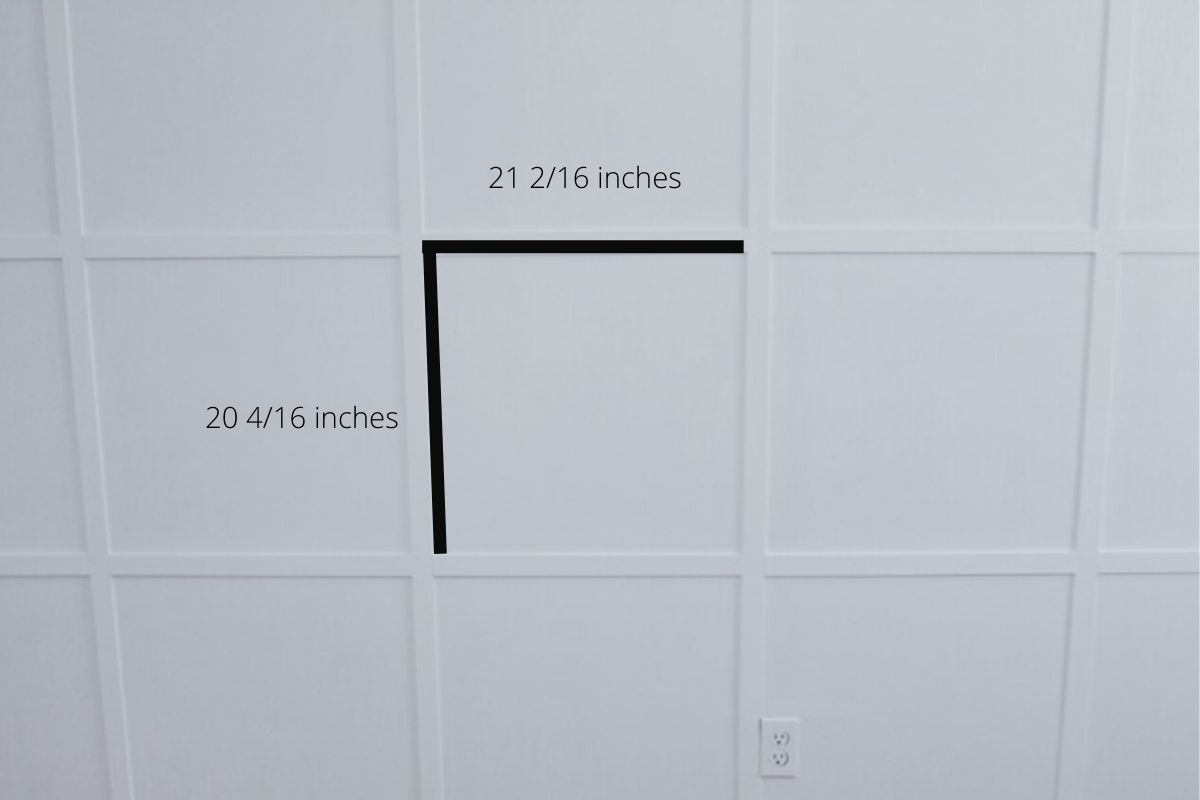
Determine how many rows and columns you want to make up your board and batten wall, then do the math to determine the length and width of the each square. Again our squares were 21 2/26 by 20 4/16.
Step II
Cut vertical boards to the length of the wall. Ours are cut from the bottom of the crown molding to the top of the baseboard.
Step III
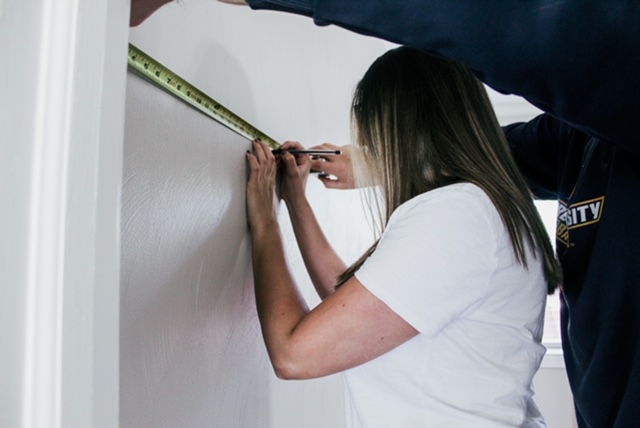
We decided to start on the left hand side of our wall. Using the caulking gun we applied the gorilla glue to the back of the batten in a zig-zag motion. We then attached the board to the wall and applied pressure for 30 seconds.
Pro-tip: Prior to pressing down on the batten use a level to ensure the board is straight.
Step IV
Now attach the remaining vertical battens to the wall. Each one of our vertical boards are spaced out 21 2/16 inches.
Step V
After all the vertical boards have been attached it is time to start adding the horizontal boards. I suggest picking one column and working it through completely before starting another.
For our wall, each column required five cuts. One horizontal board at the baseboard, one just below the crown molding and three spaced out on the wall.
Pro-tip: Measure the distance between each batten at all five locations to account for small differences in measurements. We measured our top horizontal batten and made that same cut five times. We ended up having to re-do that column because some of our boards were off just a little.
Step VI
Attach horizontal boards using gorilla glue and a level to ensure they are straight!
Repeat for each column.
Step VII
After all the horizontal battens have been attached to the wall I let everything sit for 24 hours. I wanted to give the glue enough time to dry. After 24 hours I went in and caulked where the battens met the wall and anywhere a batten met a batten.
Step VIII
Next up is paint!
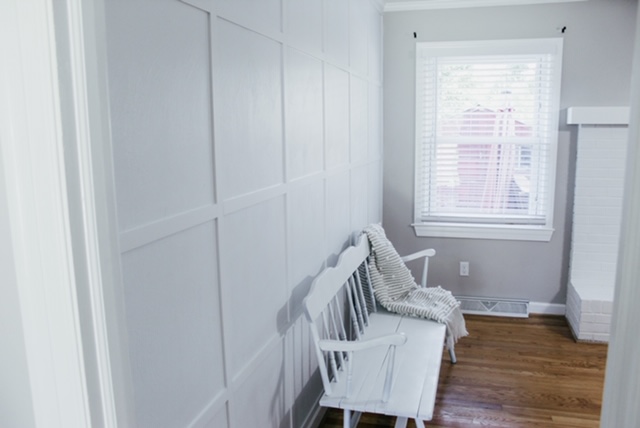
I am so happy with how the wall turned out and it adds so much texture and spice to the room. I linked all the products that I used below. I hope this is helpful! Let me know if you have any questions, I am more then willing to help where I can!

Looks Beautiful. Love it
Author
Thank you!
Looks awesome. And the math…. well, that’s another story. Lol. You are very talented❤😘
Author
Thank you, I appreciate it!!
Really looks great!
Author
Thank you!!